Oak Bunk Bed Assembly Instructions
One of our goals is to make our furniture enjoyable from the time you pick it up until you pass it down to your grandkids. With this is mind, first impressions matter. We’ve designed our beds to be assembled quickly with minimal tools. This guide works for all of our beds with the exception of the White Cedar Mountain Collection bed. Requires 2 people.
Required Tools:
1/2” Socket Wrench


Before you begin: Remove the plastic caps covering the lag bolts on the headboard and footboard.
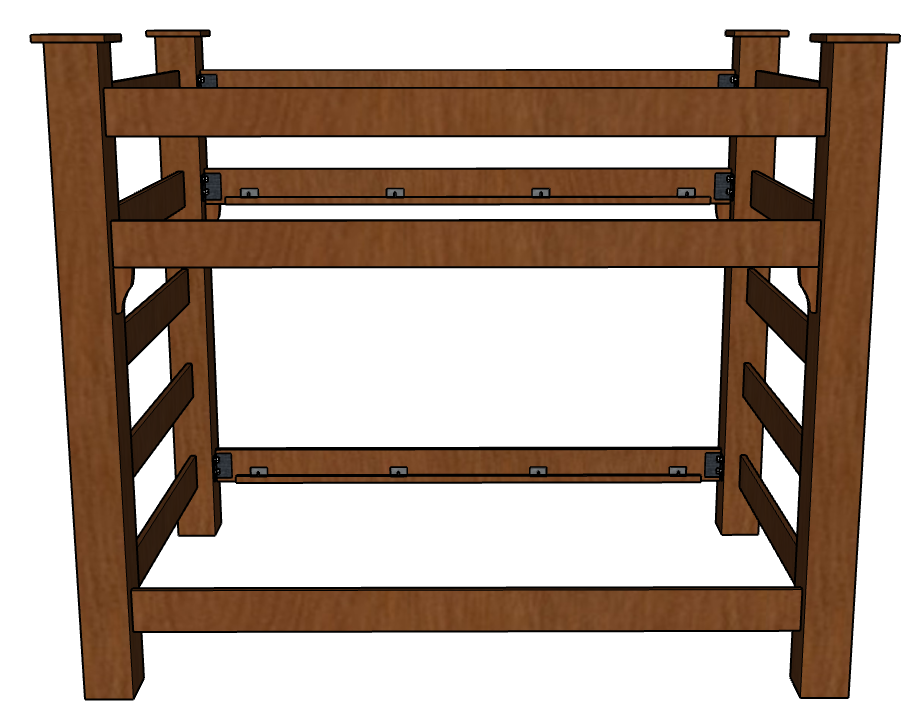
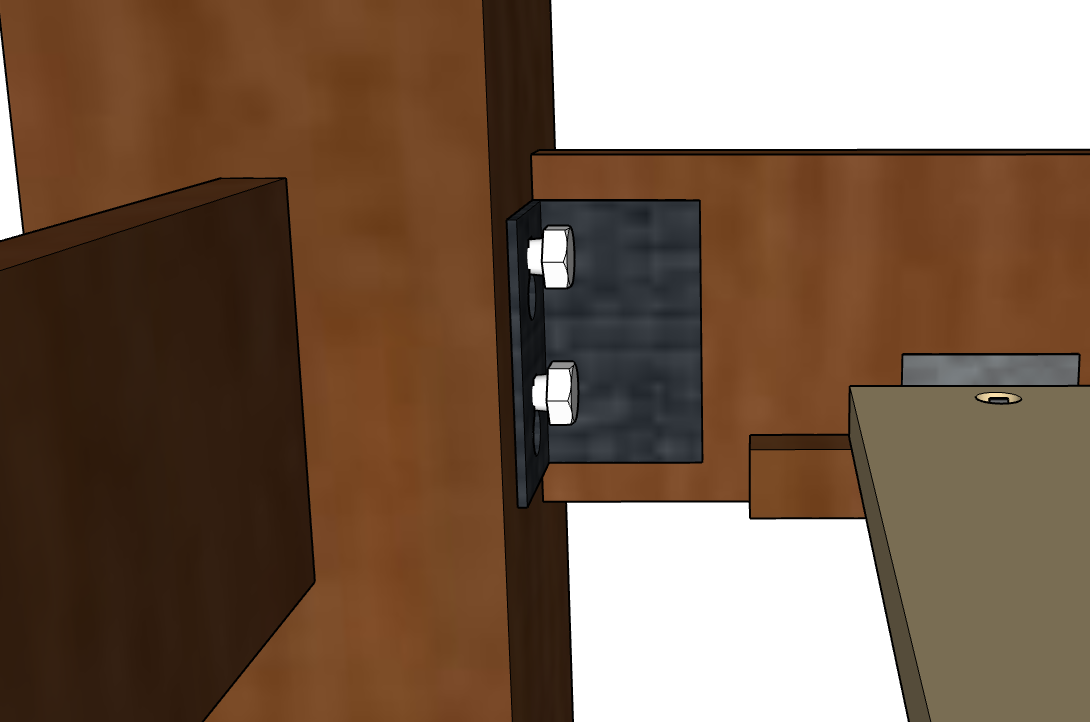
Step 1: Using the pre-installed brackets and lag bolts attach one side rail to the headboard, followed by attaching it to the footboard. We recommend starting with the bottom rail and working your way up. The two top rails have to be installed at the same time. Do not tighten bolts.


Step 2: Attach the second set of side rails to both ends.


Step 3: Tighten all bolts with a 1/2” socket wrench. Do not over tighten.
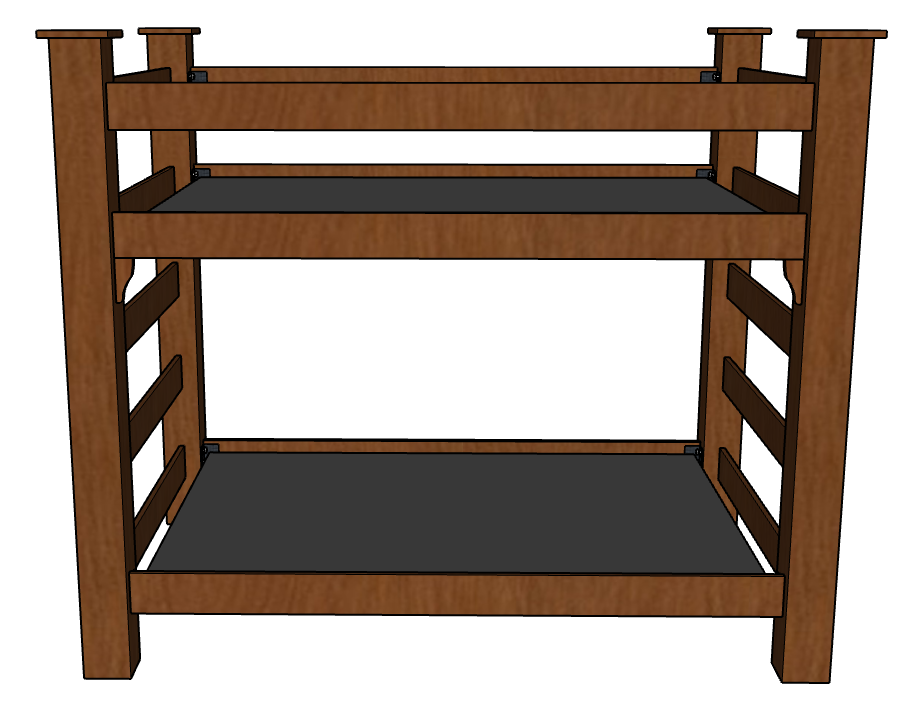
Step 4: Install the slats by placing them on the pre-installed brackets. Lastly, add a bunkie board and mattress (sold separately).